
If you have a sagging headliner, it can be a real downer. Fortunately, there is hope! With some simple DIY tips, you can repair and revive your headliner in no time. You don’t need to be an expert or spend tons of money on the job either – just follow these easy steps and soon you’ll have your car looking good as new!
Identifying a Sagging Headliner
When it comes to identifying sagging headliners, the telltale signs are easy to spot. You may notice that your car’s interior is not looking as good as it used to due to a loose or drooping fabric on your ceiling. This can be caused by age and everyday wear and tear or even an unexpected spill.
It’s important not to let this minor annoyance ruin your ride; here are some tips on how you can quickly and easily fix a sagging headliner yourself without too much fuss. Start by vacuuming the area around the headliner so that you don’t get any dirt in the glue when applying it later.
Next, use scissors or an X-Acto knife to cut away excess material if necessary for a smoother fit against the frame of your vehicle. Once all excess material has been removed, apply spray adhesive along both sides of the lining material before pressing them firmly back into place with a cloth-covered rolling pin or wooden spoon handle until dry and secure.
For best results, make sure you allow enough time for drying between each step for maximum effectiveness. Following these simple steps will help ensure that you have identified and fixed your sagging headliner in no time!
Removing the Old Headliner
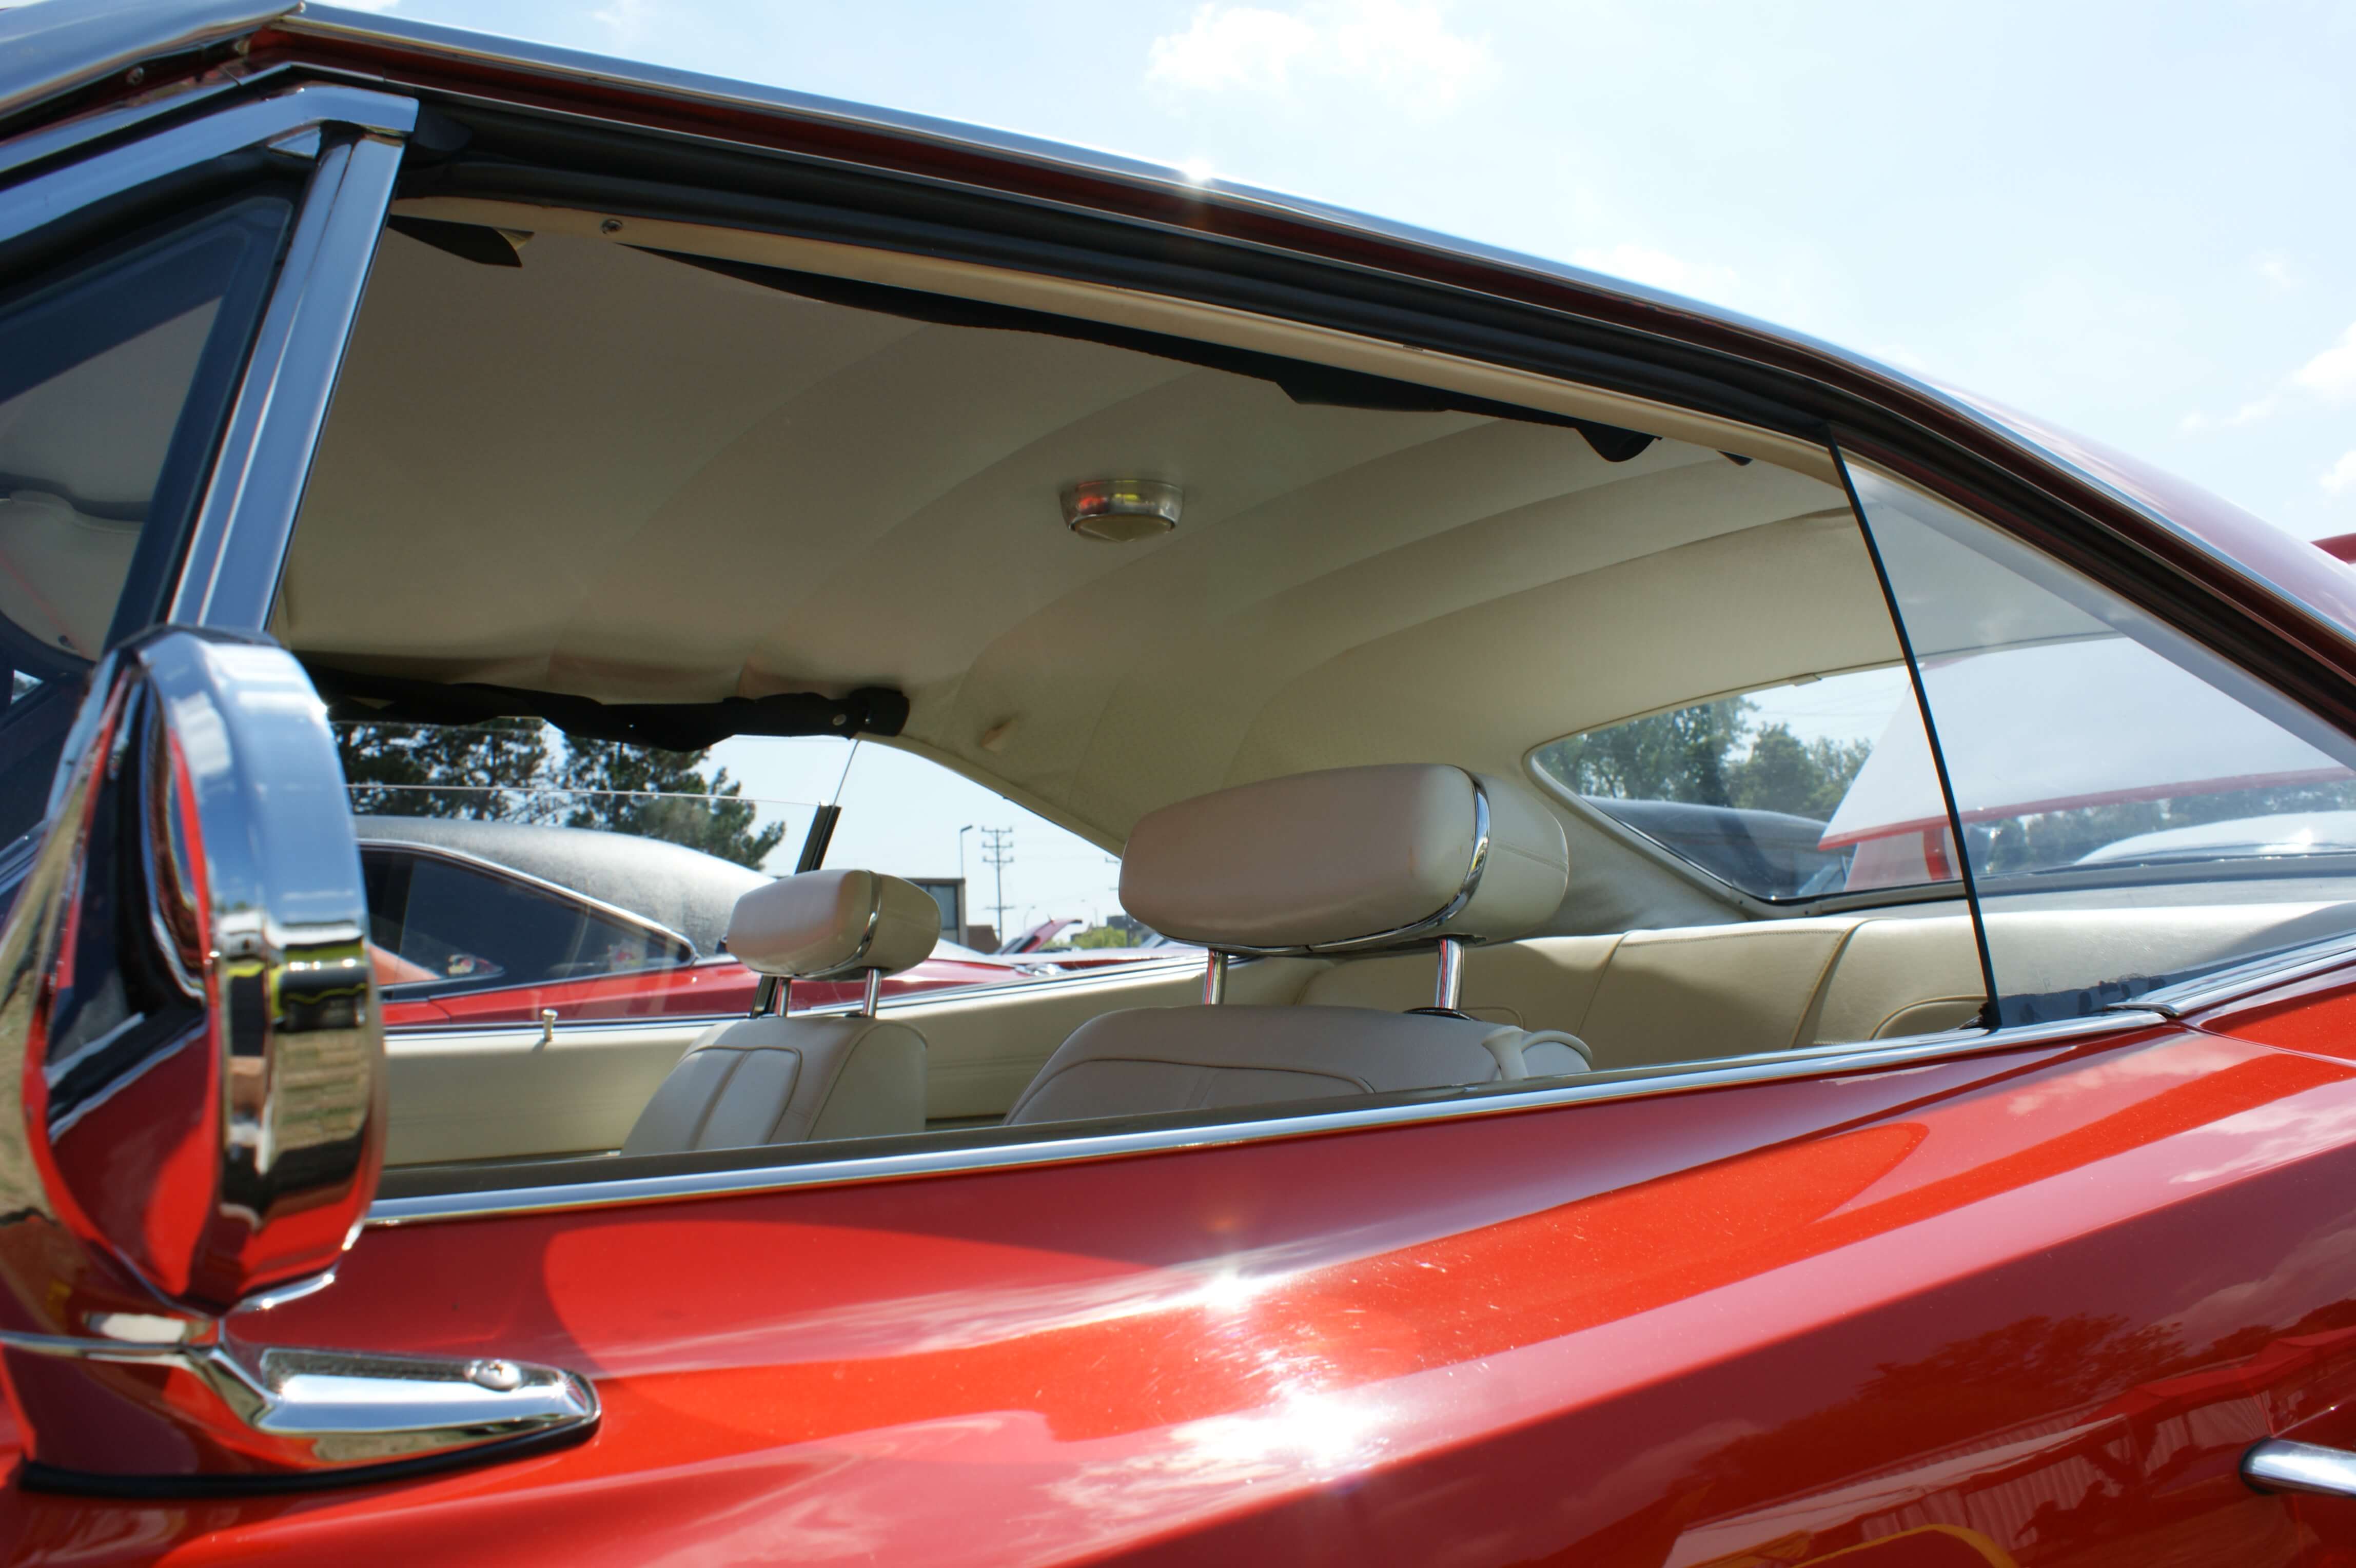
Source: legendaryautointeriors.com
When it comes to keeping your car interior looking its best, a sagging headliner can be an eyesore. Fortunately, removing and replacing the old headliner is a project that you can take on yourself. With the right tools and materials, you can quickly get rid of this unsightly problem without having to hire a professional auto upholstery shop.
Here are some tips for how to go about doing just that! First off, make sure you have all the necessary supplies before getting started: masking tape or painters tape, fabric glue (preferably with waterproof properties), scissors, razor blade knife or box cutter, a putty knife or scraper tool, and new headliner material (which varies depending on your vehicle).
Once all of these items are gathered together in one place it’s time for deconstruction. Start by removing any trim around the edges of the existing headliner then make cuts into the material so it will pull away from itself more easily.
Use caution when cutting into the fabric as too much force could cause damage to other parts of your car’s interior. Carefully remove pieces until only paperboard backing remains attached at various points along the ceiling edge – use a putty knife here if needed for extra leverage.
Preparing the New Material for Installation
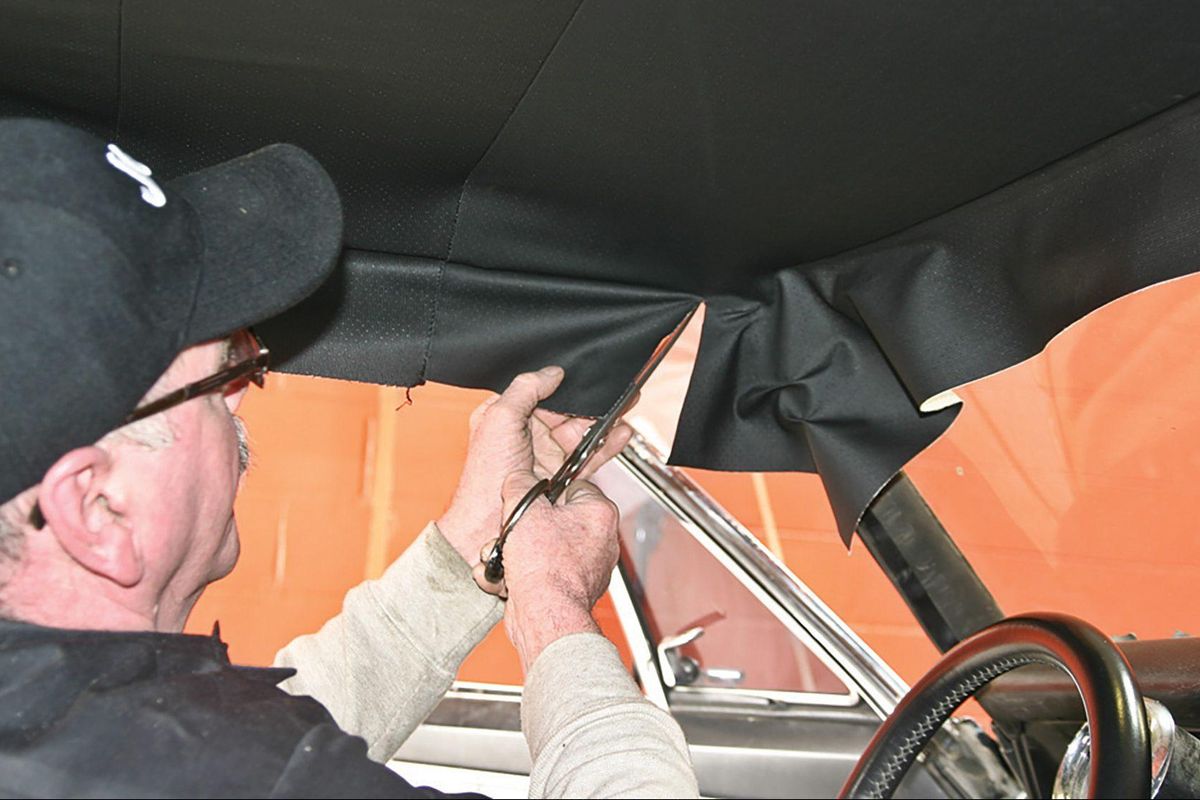
Source: hemmings.com
First, make sure all of the materials you need are gathered and ready. Measure twice and cut once when cutting any fabric or foam backing that may be required. If using an adhesive spray or glue, read the directions carefully before applying them to your headliner material.
Take time to prep surfaces properly – if not done correctly, this could lead to long-term issues with your newly installed headliner! Finally, install as per the manufacturer’s instructions for the best results and longevity of your new headliner material. With these tips in mind, you can confidently tackle any DIY headliner repair job that comes your way!
Installing the New Material
Installing a new material can be an intimidating task, but if you have the right tools and follow the steps correctly it can be done with relative ease. First, measure the area where you plan to install your new headliner. Make sure all measurements are accurate so that when cutting, there is no room for error.
Once you’ve determined what size pieces need to be cut out of your fabric or vinyl material, mark them clearly on the back so they’ll easily be identified as cuts.
From there use a sharp pair of scissors to precisely cut out each piece based on your markings from before. Now begin attaching each section into place by using adhesive backing or pins depending on which application method works best for you and your project materials.
Finally, inspect all sections once installed and make sure everything looks correct before moving on to other aspects of DIY repair work!
Conclusion
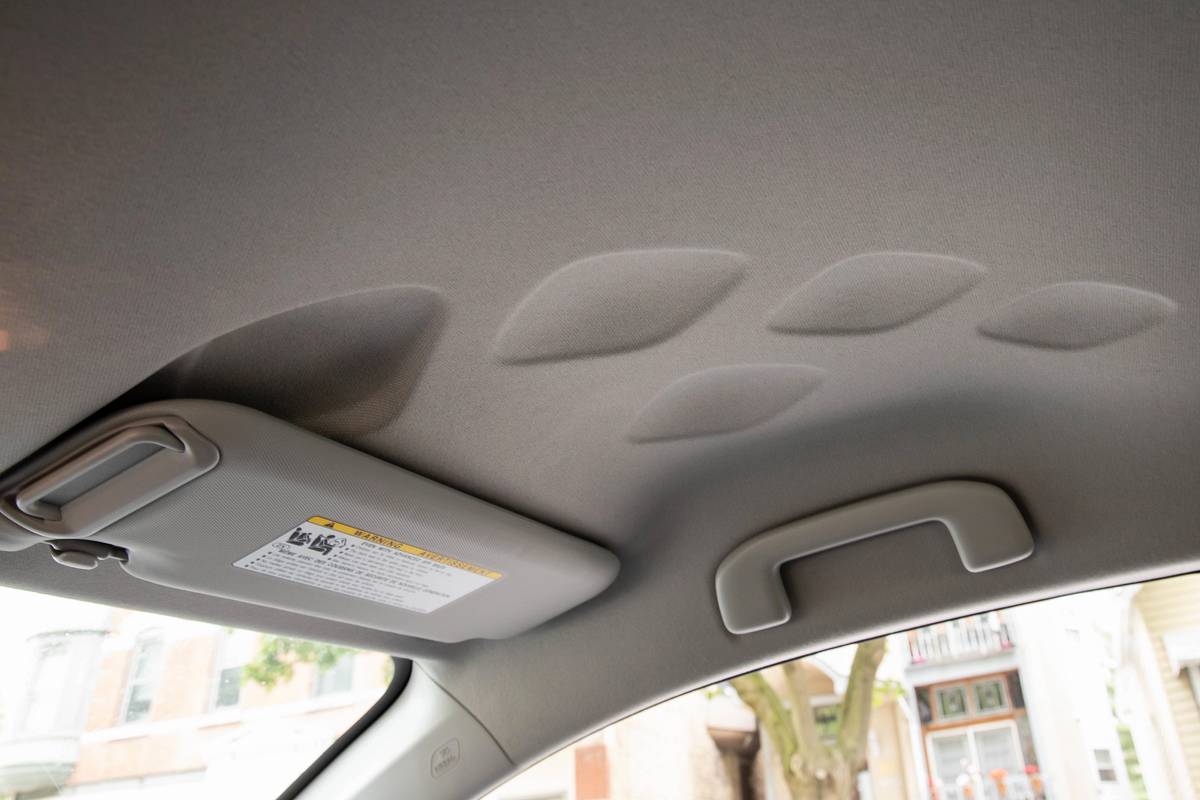
Source: cars.com
In conclusion, repairing a sagging headliner is an achievable task that anyone can do with the right tools and supplies. With patience and perseverance, you can have your vehicle’s interior looking good as new in no time!
Having all necessary materials on hand before starting any project will save time and ensure success. Taking extra care when cutting fabric or foam pieces to size will help create a seamless fit once installed. Lastly, using an appropriate cleaning product for the surface of your headliner material after installation will extend its lifespan and keep it looking great for years to come!


